Download the presets
If you haven’t done so already, click here to grab a copy of the EBDC Lightroom Presets v01 pack for free from the shop. You’re going to want to check your email for the download link.
Install presets
Next thing you’re going to want to do is install the presets. Depending on what version of Lightroom you’re running, the installation process is going to be slightly different, but easy nonetheless.
For Lightroom Classic
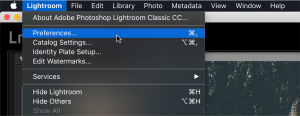
Go to Lightroom / Preferences
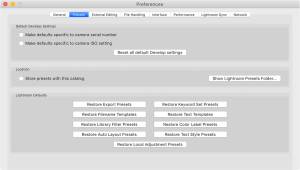
Under the Presets tab, click Show Lightroom Presets Folder
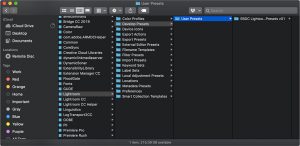
In the Lightroom folder, go to Develop Presets / User Presets and drop the EBDC Lightroom Presets v01 folder in there
For Lightroom CC
Go to File / Import Profiles & Presets
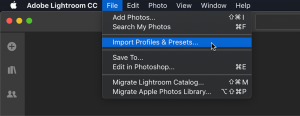
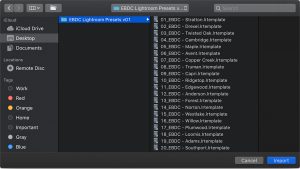
Navigate to where you downloaded the presets to and highlight them all and click Import
Thats pretty much it!
Preset overview
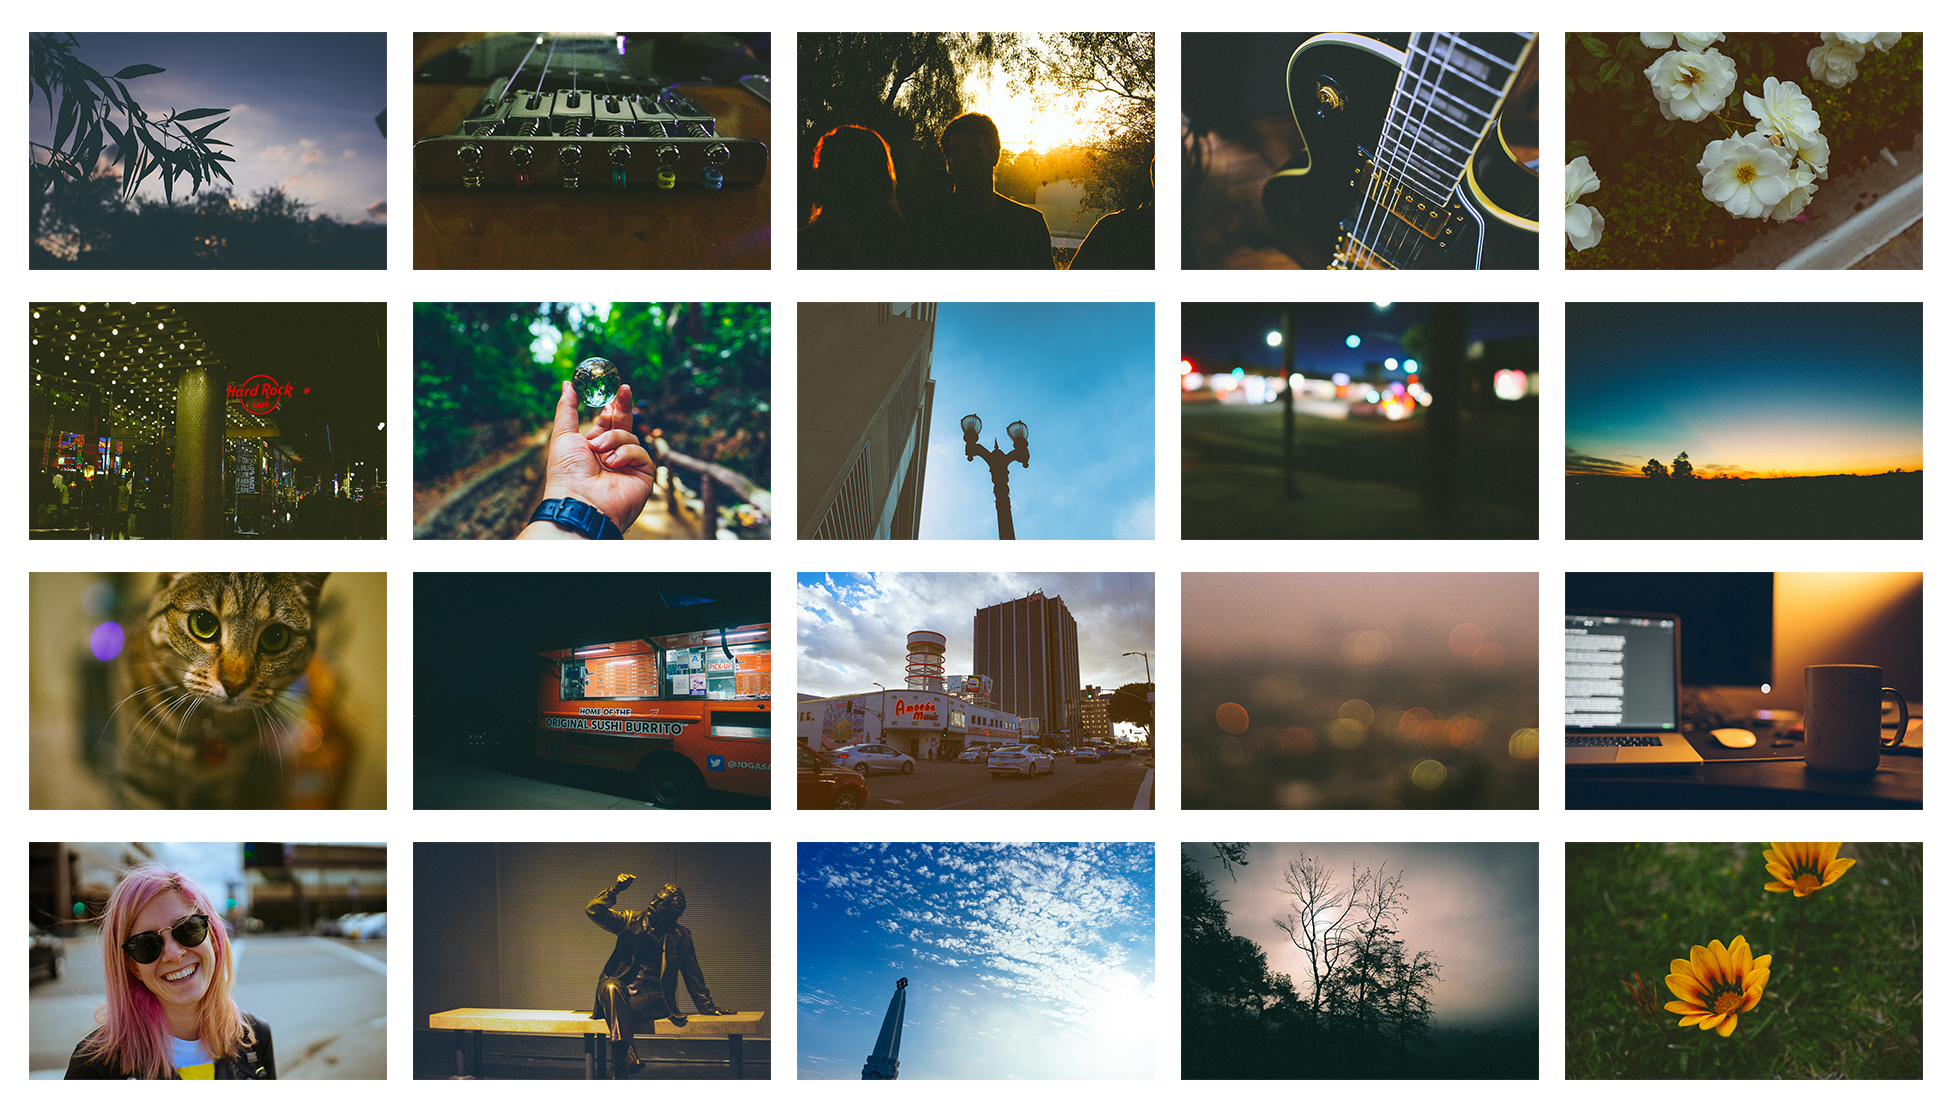
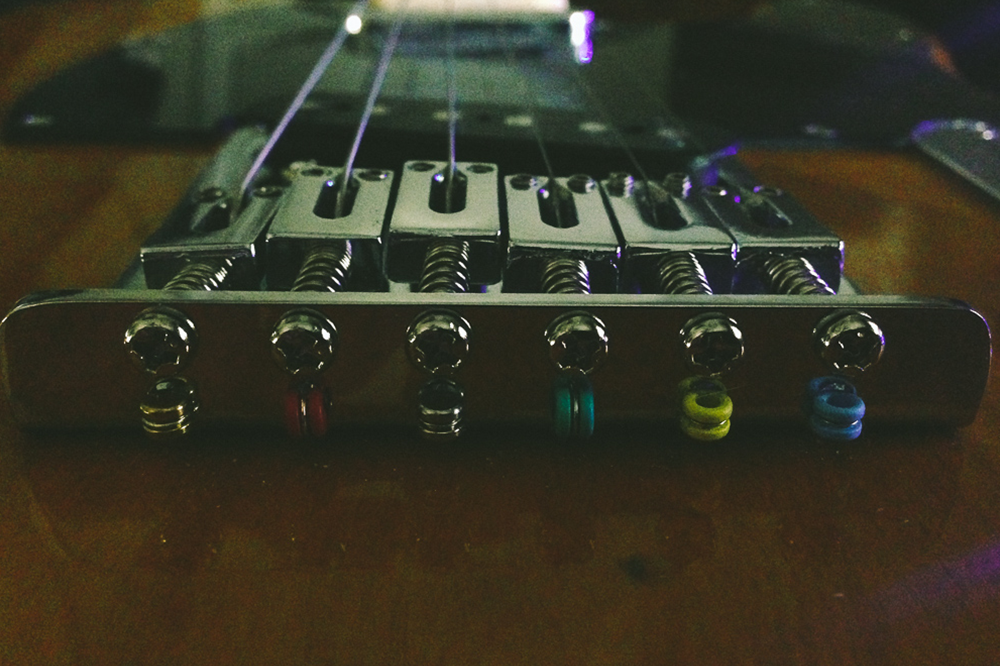
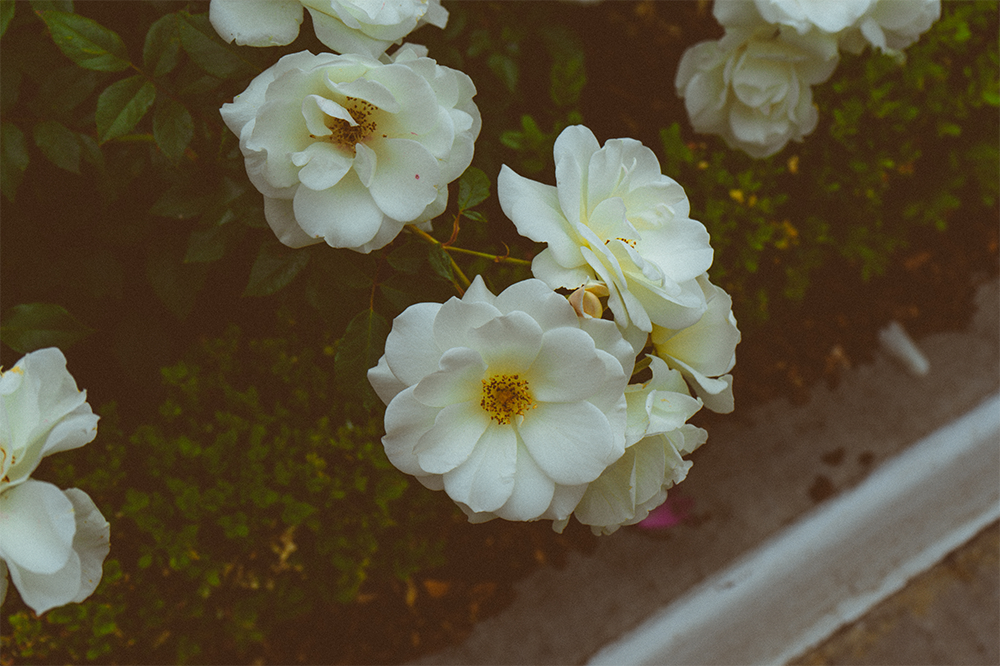
In this set, I’ve included 20 presets that I personally use to edit most of my photos. Below is an overview of each preset, along with its name and what kind of look you can expect out of it.

01_EBDC - Stratton
02_EBDC - Drexel

03_EBDC - Twisted Oak

04_EBDC - Cambridge
05_EBDC - Maple

06_EBDC - Avent

07_EBDC - Copper Creek

08_EBDC - Truman
09_EBDC - Capri

10_EBDC - Ridgetop

11_EBDC - Edgewood

12_EBDC - Anderson
13_EBDC - Forest

14_EBDC - Norton

15_EBDC - Westlake
16_EBDC - Willow

17_EBDC - Plumwood

18_EBDC - Loomis

19_EBDC - Adams

20_EBDC - Southport
Use these presets on the go with Lightroom CC for iOS and Android.
One of my favorite things about the newest version of Lightroom CC is that you can use your exact presets in the mobile version of Lightroom CC for iOS and Android. All you have to do is make sure you’re logged into your Creative Cloud account on the desktop app as well as the mobile version. If you’ve done the steps above, the presets should show up after you sync your account.
Once that’s done, you can open up the Presets panel on the far right and start applying the EBDC Lightroom Presets or any others.
The other cool benefit of using these two apps is that your photos and presets stay synced from desktop to mobile so you can do some pro-level editing on the go and immediately save images out and post to Instagram. I literally swear by this process. I almost exclusively edit photos on my phone when I’m out on shoots.